How to Organize Photos
Easy Ways to Organize Photos
In just one year, the world population takes over 1 trillion photos. There’s a reason we take so many photos. They’re a reminder of a place, person, or moment that we never want to forget. While these photos seem so important at the moment, they usually end up in boxes, forgotten photo albums, or deep in our phone or desktop. Learning how to organize your photos can help reduce clutter, clears up storage on your phone and computer, and helps you find your photos more easily.
Organizing your photos doesn’t just remove clutter. It ensures that your most precious photos and memories are protected in case of an emergency. In the rare cases that your home flooded, your devices were stolen, or you experienced a fire in your home, you would lose all those photos. By making the plan to organize your photos on cloud-based software, you are protecting them from all scenarios.

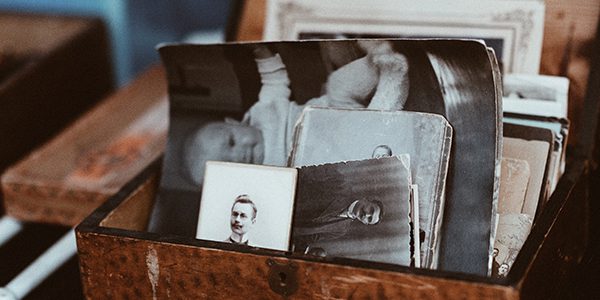
Scan all print photos onto your computer
Start by rounding up all photo prints that you have in your home. Go through photo albums, boxes, and envelopes and collect every photo you can find. Organize them by year to make it easier to sort them once you scan. If you have a scanner in your home, use this to scan all your photos onto your computer. If you do not have a scanner to organize your photos, you may have to go somewhere with scanning abilities like Staples or CVS.
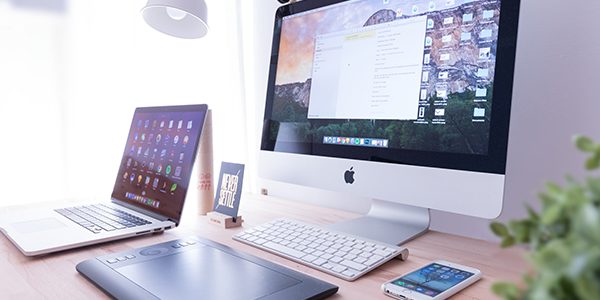
Consolidate all photos to a single device
Next, you will want to consolidate all your photos. Decide which device you will be using to organize your photos. Make sure all photos taken on your iPhone, iPad, Android, or tablet are all consolidated in one place. If you already use devices that had cloud accessibility, this should be a quick process.
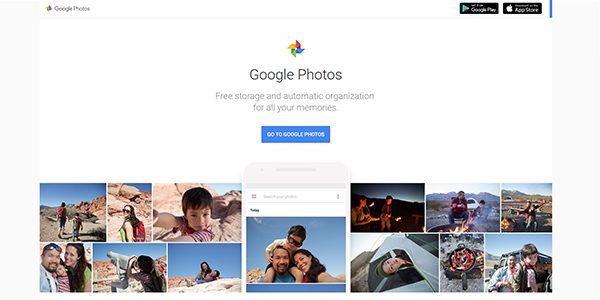
Choose a photo storage software
After consolidating, you’ll want to choose a software to organize your photos. You could choose to organize photos in Google Photos, DropBox, OneDrive, or even on Facebook. Software like Google Photos can be very helpful when trying to find a photo because you can search for specific people, dates, or items, and the software will come back with all photos relating to that search. It’s important to store on a software that is backed up in the cloud. Otherwise, you are at risk of losing all of your photos if they are only locally stored on a device or computer.
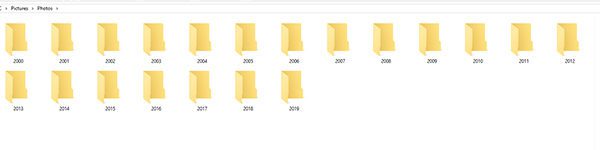
Sort photos by year
Once uploading all of your photos, start to make folders to organize your photos. Create a folder for each year and drop all photos taken during that time into the folder. This will make it easier to search for specific photos.

Sort photos by month
Next, create folders for each month of the year. Go through all photos for the year and try to assign them to specific months if you are able to determine when you took them. Sorting photos by month and year keeps them organized and makes it easier to search and find specific photos.
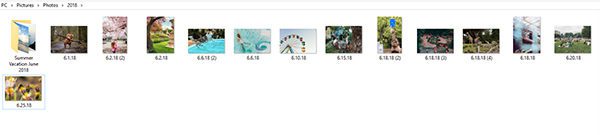
Add folders for significant events
If, while sorting by month, you come across a significant event like a vacation, create a separate folder inside that month. This will make it easier to find all photos from that event when you want to reminisce, upload to social media, or choose photos for a slide show or scrapbook.
Once you’ve placed everything into folders, all of your photos should be organized. As you continue to take photos, it’s important to continue to follow the process you’ve already begun to keep things organized. One option is to set up your photo organization software to automatically upload photos as you take them. Or, on the last day of the month, you can take a moment to upload all photos to their specific folder.
For more organization tips and different ways to enjoy your home, sign up for our monthly newsletter.